Diamond Blanket
Materials Needed
- F Hook (3.75 mm)
- Stitch markers
- scissors
- Yarn (worsted weight/ 4) in the listed colors
|
|
| A | Red | I | Medium Thyme |
| B | Perfect Pink | J | Light Blue |
| C | Pumpkin | K | Royal Blue |
| D | Country Peach | L | Delft Blue |
| E | Bright Yellow | M | Navy |
| F | Pale Yellow | N | Orchid |
| G | Bright Green | O | Dark Orchid |
| H | Frosty Sage | CC | Light Gray |
Make 9 diamonds each of A, C, E, G, I, K, M, O.
Make 8 diamonds each of B, D, F, H, J, L, N.
Make 8 diamonds each of B, D, F, H, J, L, N.
|
|
| bet | Between | RS | Right Side |
| CC | Contrasting Color | sc2tog | Single Crochet 2 together |
| ch | chain | sc | Single Crochet |
| cl | cluster | sk | skip |
| dc | Double Crochet | sl st | Slip Stitch |
| MC | Main Color | sp | Space |
| rep | Repeat | st(s) | Stitch(es) |
| Rnd | Round | y o | Yarn Over |
Special Stitches
• sc2tog—(insert hook in ch-sp, yo and draw through) twice, yo and draw through all three loops on hook
• cluster (cl)—work 3 dc in same stitch or space
• cluster (cl)—work 3 dc in same stitch or space
Diamond Motif
Ch3 (image a), slst to join to make ring (image b).
Rnd 1 (RS): ch 2 (counts as first dc in round, see image 1.1), 2dc, ch3, 3dc, ch 2, 3dc, ch 3, 3 dc, ch 2, join to top of ch2 (See image 1.2) –12 dc
Rnd 2: ch 3,dc in same st (See image 2.1), dc in each st around completing (2 dc, ch 3, 2 dc) in each ch-3 sp (See image 2.2) and (2 dc, ch 2, 2 dc) in each ch-2 sp (see image 2.3), join to first dc –7 dc each side
Rnd 3: ch 3 (see image 3.1),dc in same st, dc in each st around completing (2 dc, ch 3, 2 dc See Image 3.2) in each ch-3 sp and (2 dc, ch 2, 2 dc) in each ch-2 sp, join to first dc (see image 3.2) –11 dc each side
Rnd 4: ch 3, dc in same st, dc in each st around completing (2 dc, ch 3, 2 dc) in each ch-3 sp and (2 dc, ch 2, 2 dc) in each ch-2 sp, join to first dc (see image 4.1) –15 dc each side
Rnd 5: ch 3,dc in same st, dc in each st around completing (2 dc, ch 3, 2 dc) in each ch-3 sp and (2 dc, ch 2, 2 dc) in each ch-2 sp, join to first dc (see image 5.1)–19 dc each side
Fasten off.
See Image C for final diamond before Round 6.
See chart for stitch count. First side of diamond will have some stitches at beginning of round and some at the end of the round to complete the diamond.
| Round | Start | DC | ch | DC | ch | DC | ch | DC | ch |
| 1 | ch 2 | 2 | 3 | 3 | 2 | 3 | 3 | 3 | 2 |
| 2 | ch 2 | 4 | 3 | 7 | 2 | 7 | 3 | 7 | 2 |
| 3 | ch 2 | 10 | 3 | 11 | 2 | 11 | 3 | 11 | 2 |
| 4 | ch 2 | 14 | 3 | 15 | 2 | 15 | 3 | 15 | 2 |
| 5 | ch 2 | 18 | 3 | 19 | 2 | 19 | 2 | 19 | 2 |
Round 6 is the join-as-you-go round.
--If you do NOT wish to join-as-you-go, complete directions for Rnd 6 as written below for your first and all additional motifs and join using your preferred method.
--If you wish to join-as-you-go, complete Rnd 6 as written below for the first motif. For second and additional motifs, follow the directions under Joining.
Rnd 6: with CC, join in ch-3 corner sp, ([ch 2 (first stitch in the cluster),2 dc in same stitch], ch3, cl,) in ch-3 corner sp--ch-3 corner made, sk 2, (cl in next, sk 2) rep to corner, (cl, ch 2, cl) in ch-2 corner sp--ch-2 corner made, sk 2, (cl in next, sk 2) rep to corner; (cl, ch 3, cl) in ch-3 corner sp--ch-3 corner made, sk 2, (cl in next, sk 2) rep to corner, (cl, ch 2, cl) in ch-2 corner sp--ch-2 corner made, sk 2, (cl in next, sk 2) rep to corner, join to first ch2, fasten off, weave in ends –eight cl each side
Joining
Using a whip stitch, join diamonds together using CC joining thru back loops only.
Border
Rnd 1: with A and RS facing, sc bet each cl group with ch-3 before and after each sc working (sc, ch-3, sc) in each external corner and sc2tog at each internal corner across both ch-sp corners of motifs on right and left (see Picture Section)
Rnds 2-11: with CC (see table below), sc in each ch-3 sp with ch 3 before and after each sc, completing sc2tog at each internal corner across both internal corner ch-3 loops (see Picture Section) and working (sc, ch 3, sc) in each external corner around, join to first sc, fasten off, weave in ends
Image a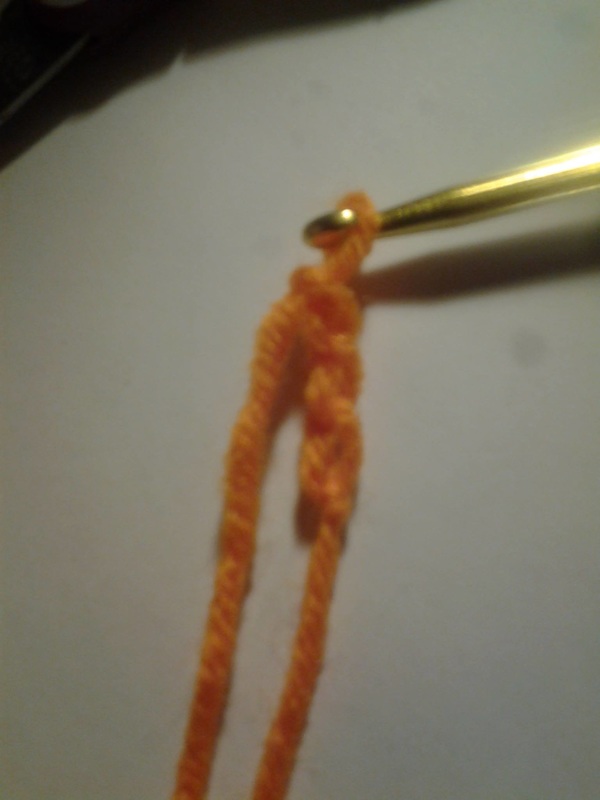
Image 1.1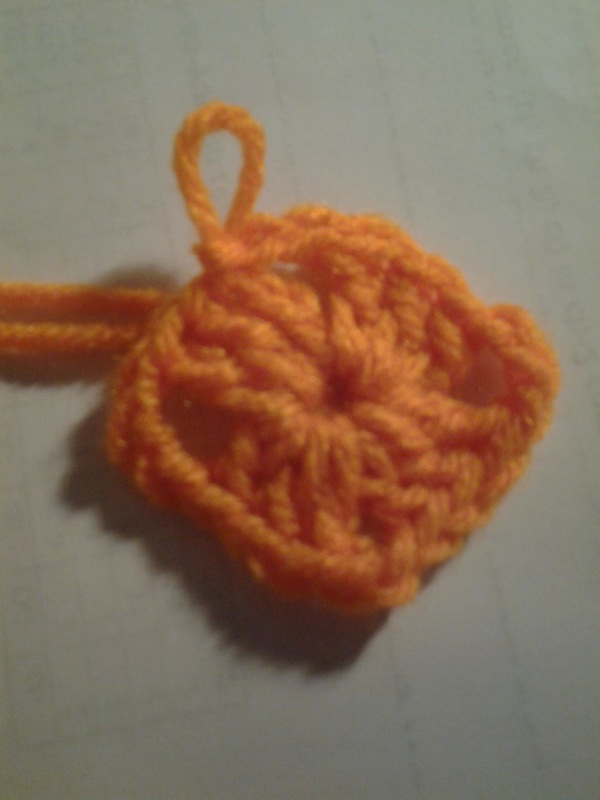
Image 2.3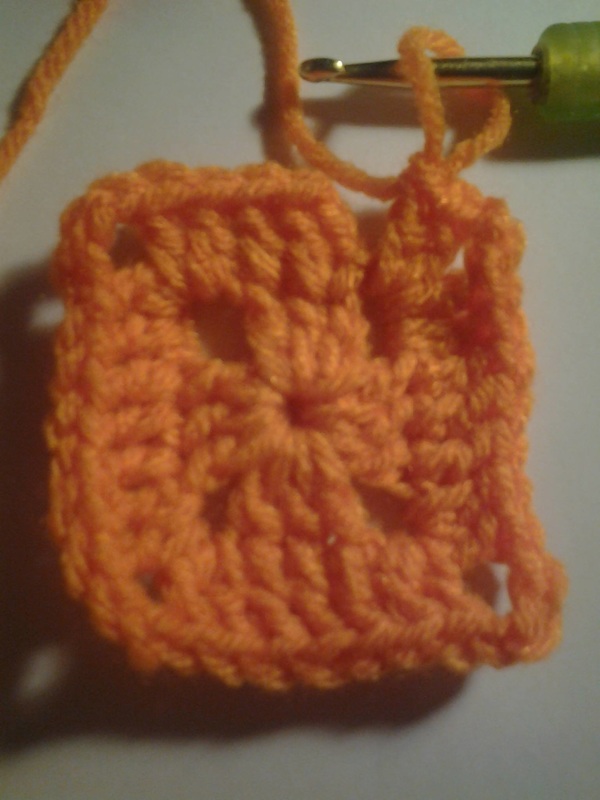
Image 3.3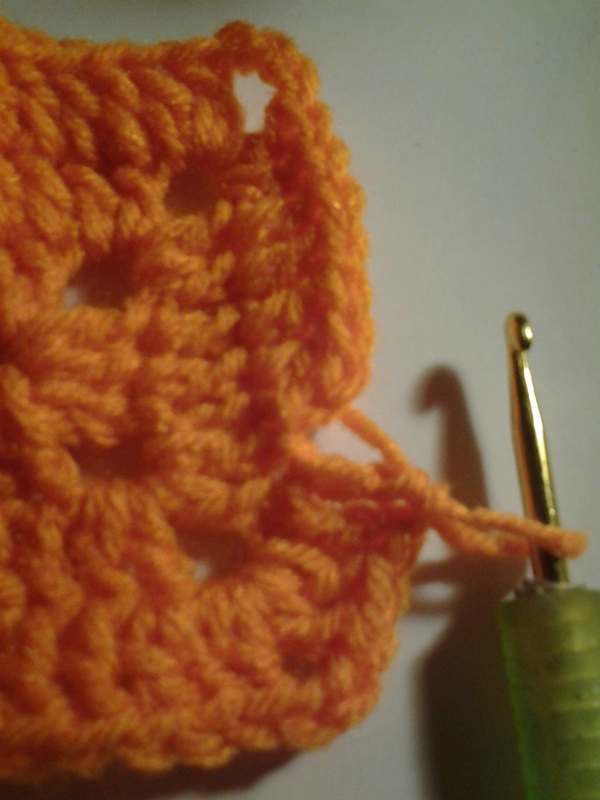
Image C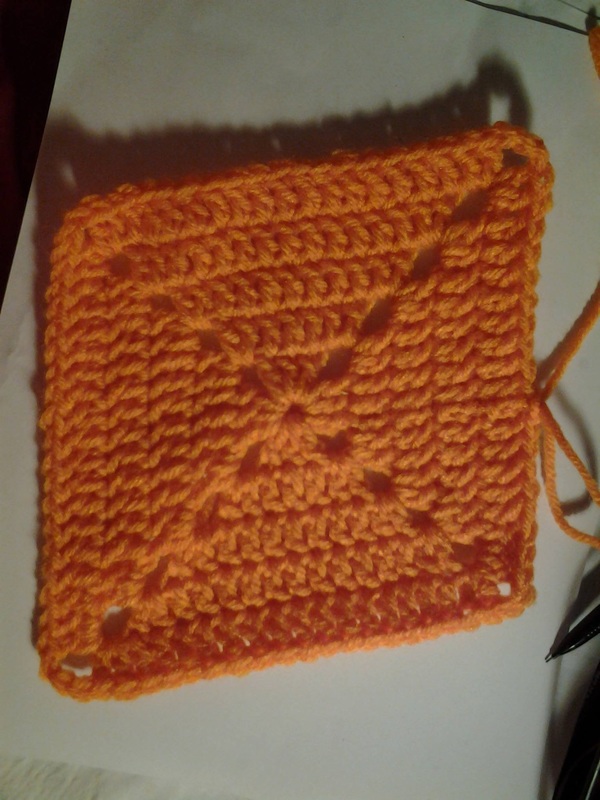
|
Image b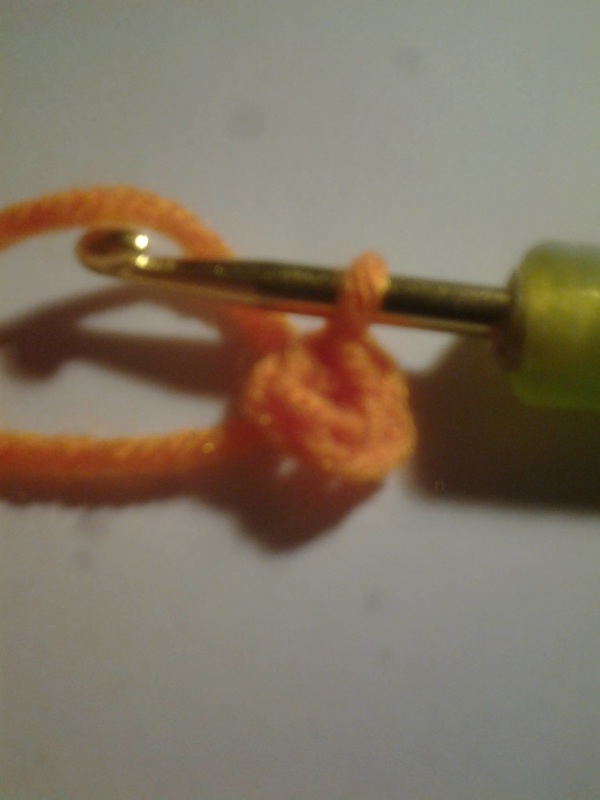
Image 2.1
Image 3.1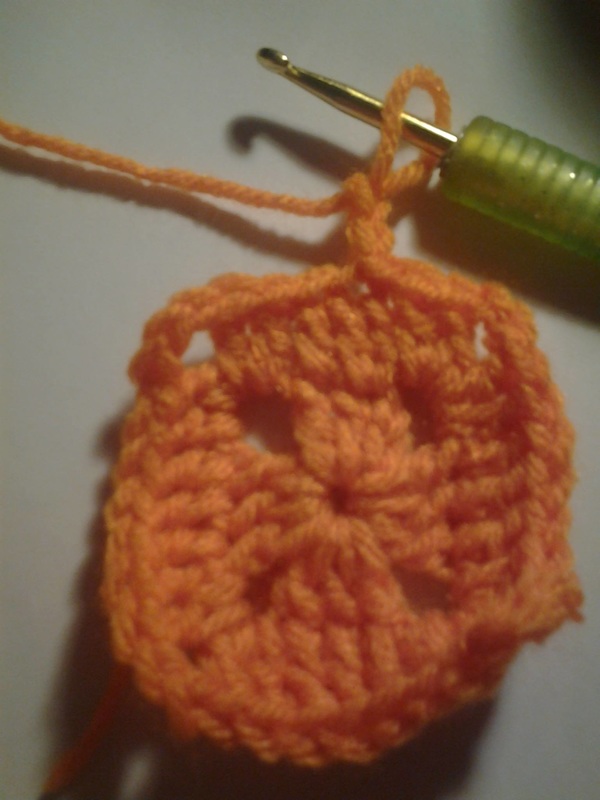
Image 4.1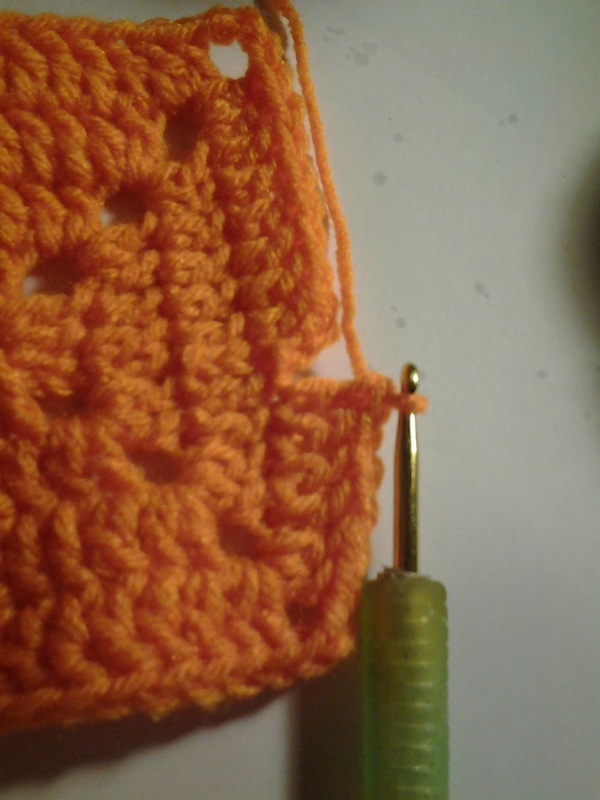
Diamond Layout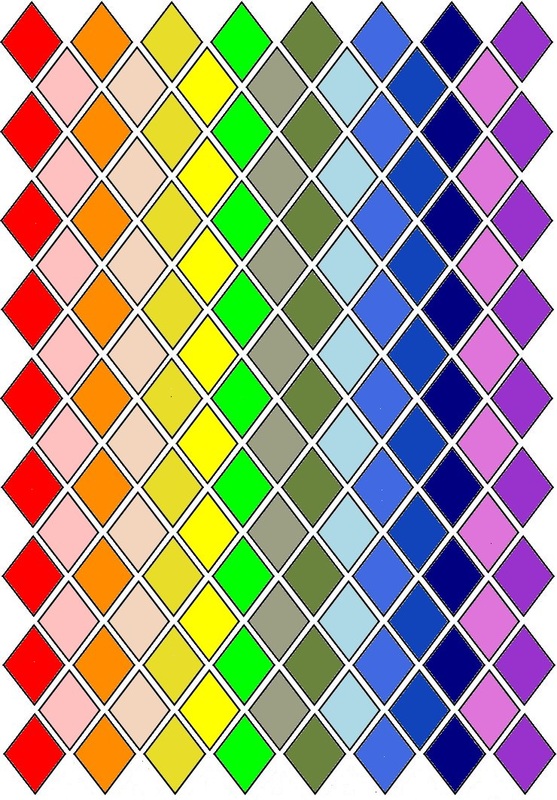
|
Image 1.1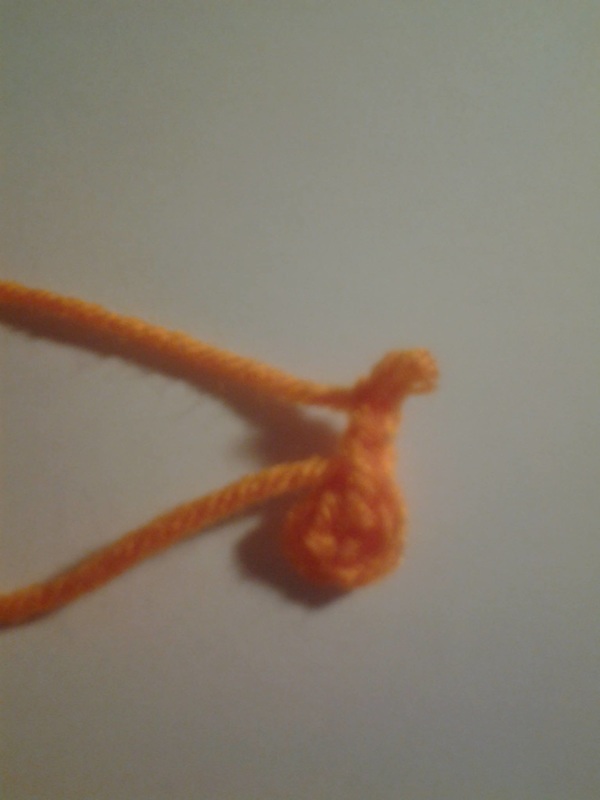
Image 2.2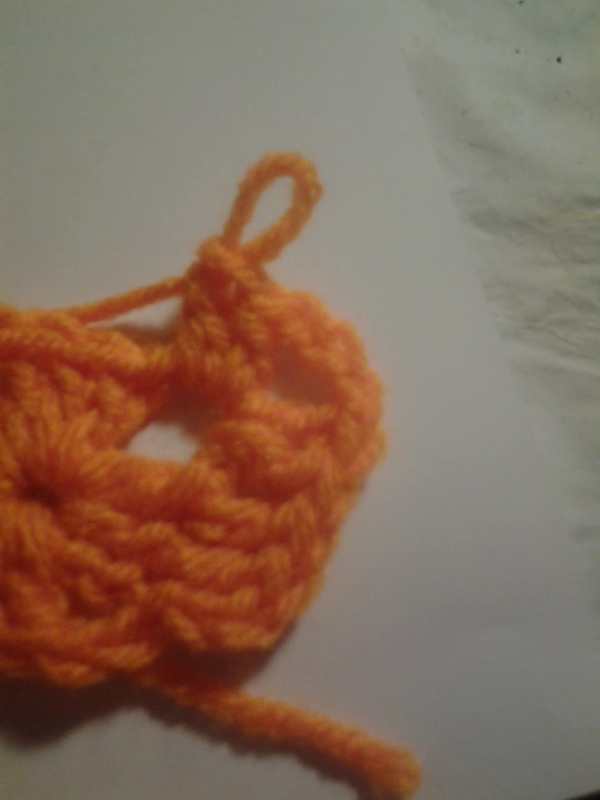
Image 3.2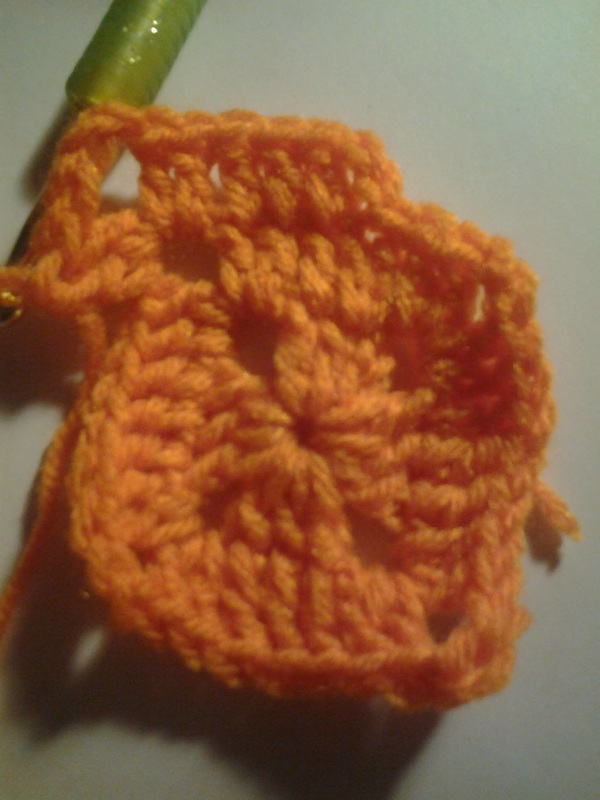
Image 5.1
|
Copyright 2015 by Taune Lynea
